
Hyperblog makes your first blog post more than just words on a page. In this guide, you’ll learn how to create, format, and publish content using Hyperblog’s powerful editor and enhance it with AI-generated images, infographics, polls, and lead magnets. You’ll also discover how to optimize your post using Hyperblog’s built-in SEO checker to ensure it’s ready to rank from day one.Documentation Index
Fetch the complete documentation index at: https://docs.hyperblog.io/llms.txt
Use this file to discover all available pages before exploring further.
1. Start a New Blog Post
- Go to the Blog tab from your dashboard.
- Click “Create New Blog”
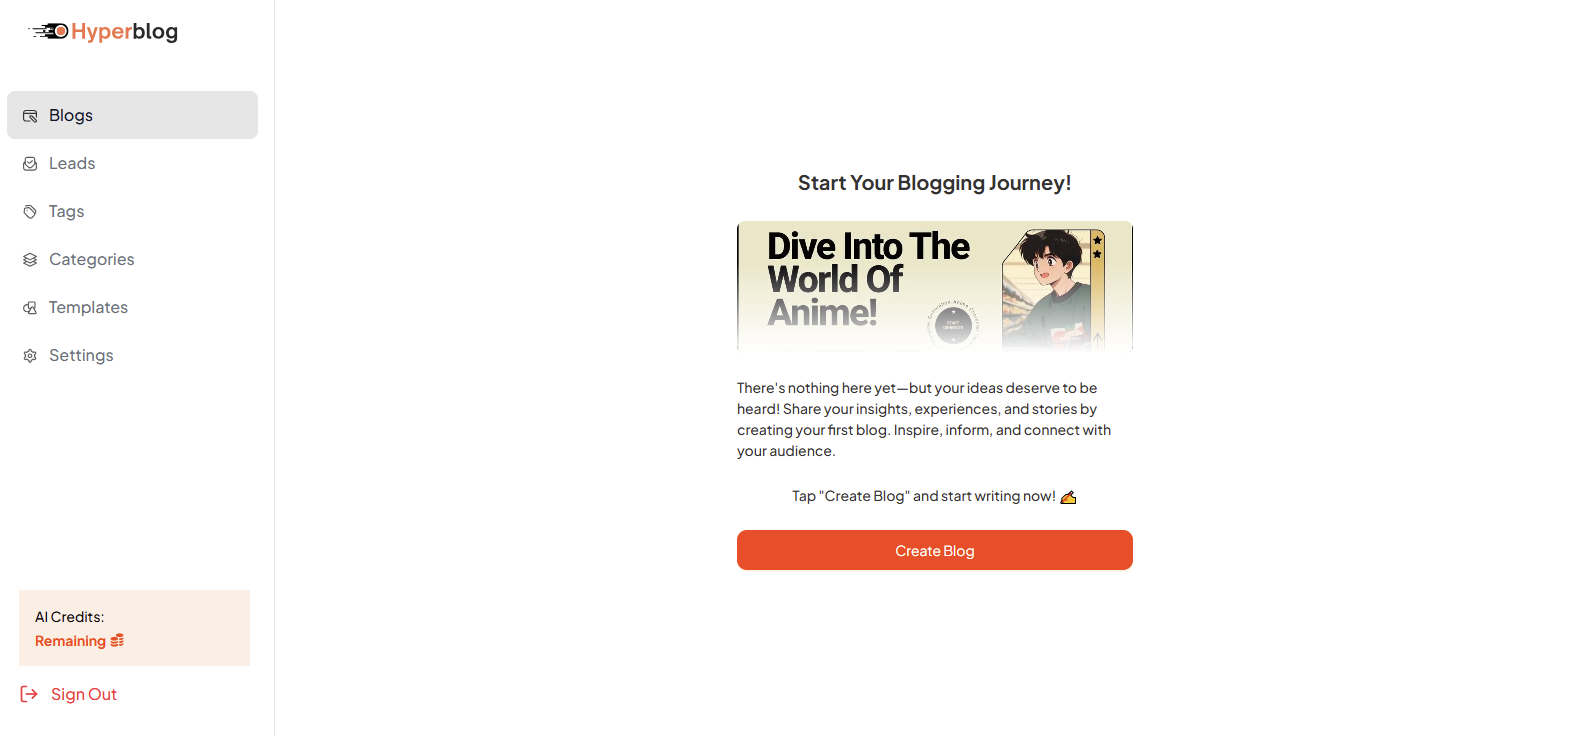
- You’ll be taken to the full-page editor.
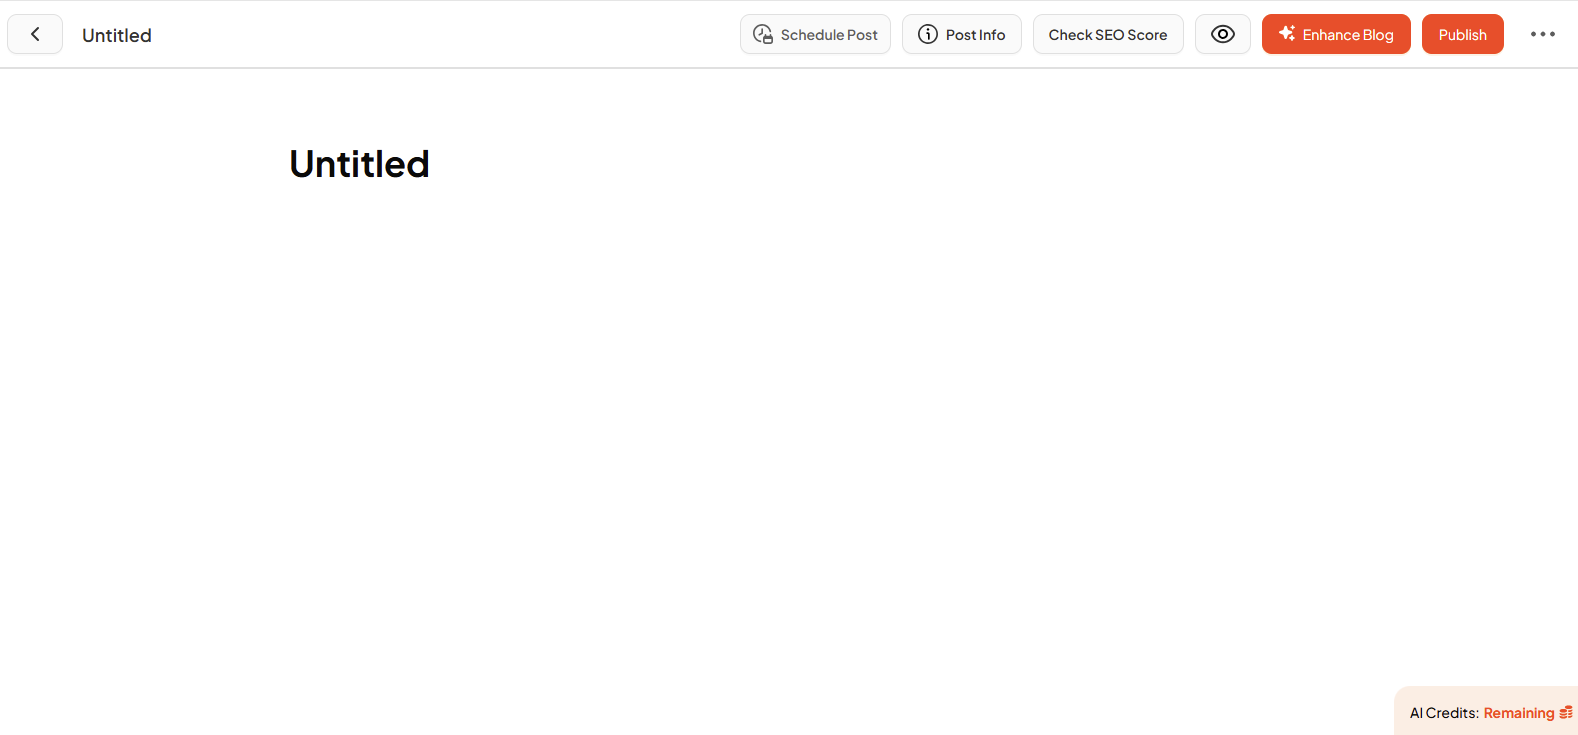
2. Add Blog Content
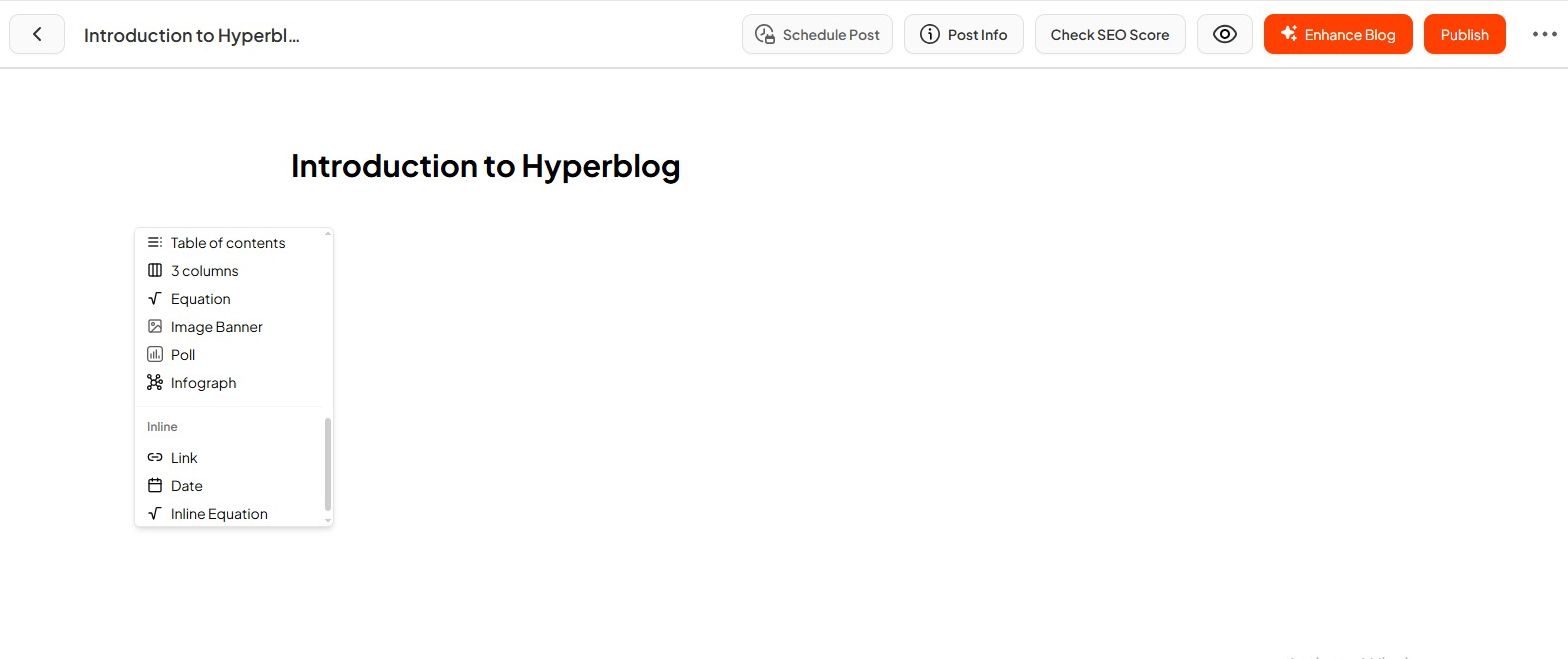
Start writing or paste your blog content directly into the editor. You can insert sections by clicking the “+” icon or typing “/”, including: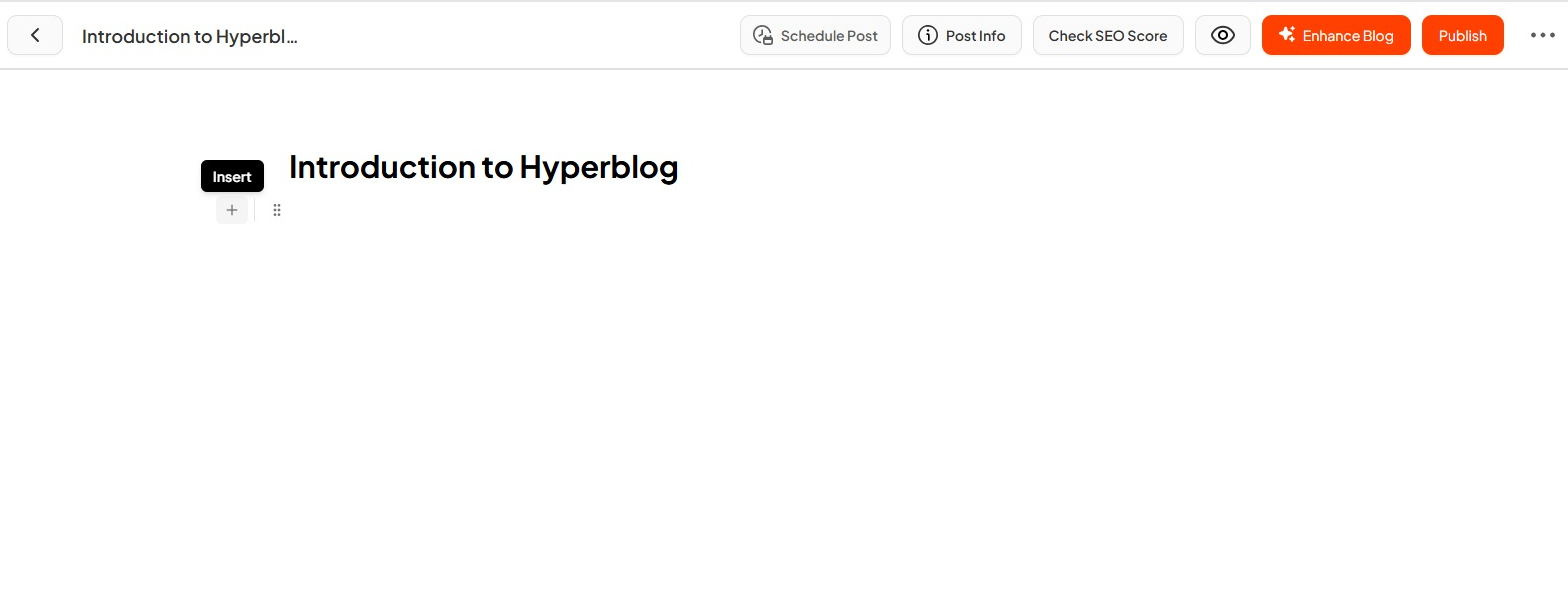
- Text Elements: Paragraphs, H1–H5, Code, Quotes
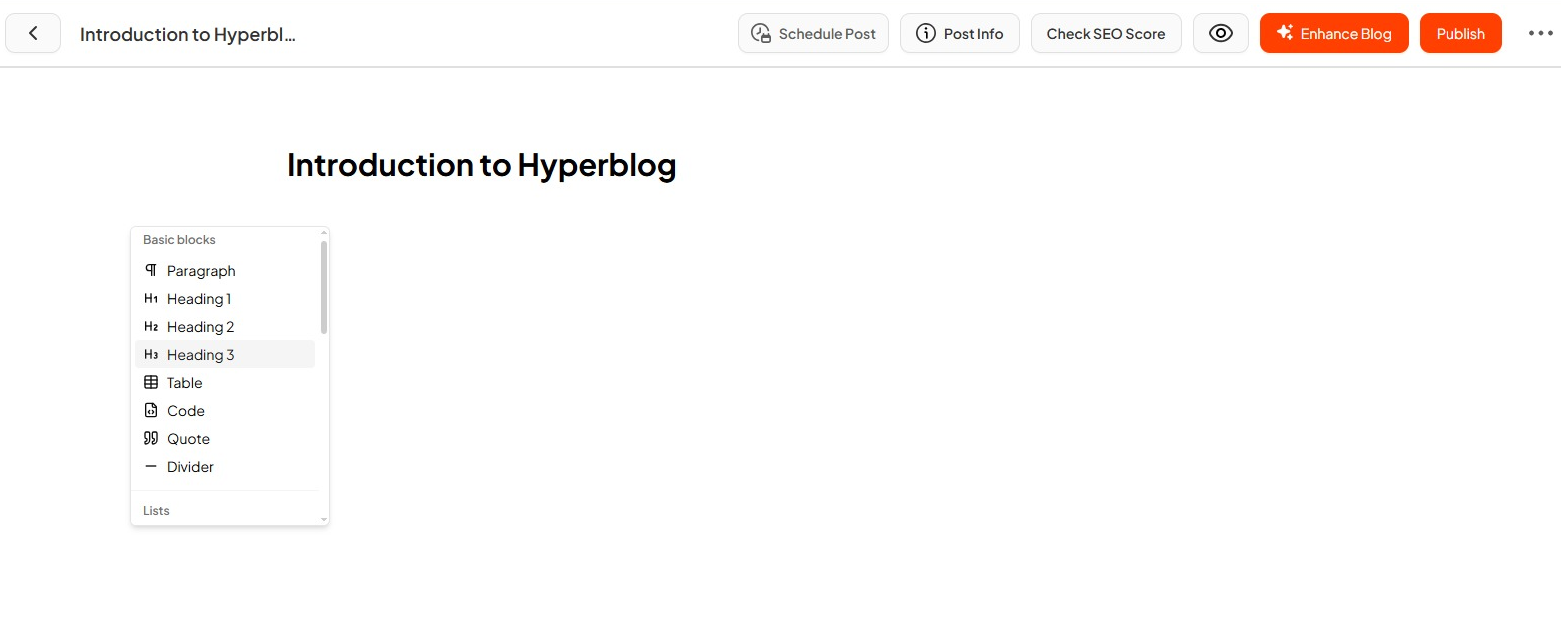
- Lists: Bullet, Numbered, To-Do, Toggle
- Media: Images, Embedded Videos, Banners

- Structure: Tables, Columns, Table of Contents
- Engagement Tools: Polls, Infographics, Images
- Others: Links, Dates, Inline Equations
3. Schedule Your Blog
Click the Schedule Post button on the top bar. Choose the date and time to automatically publish your blog in the future.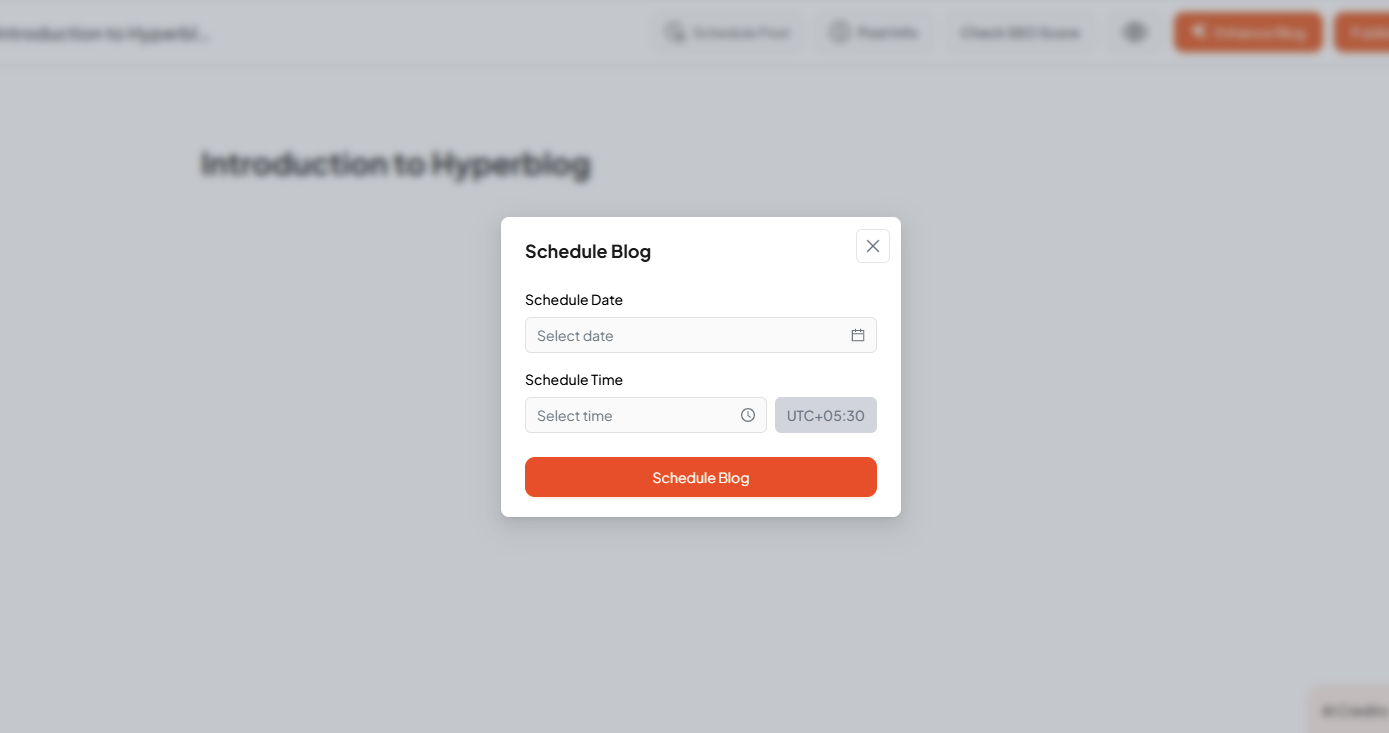
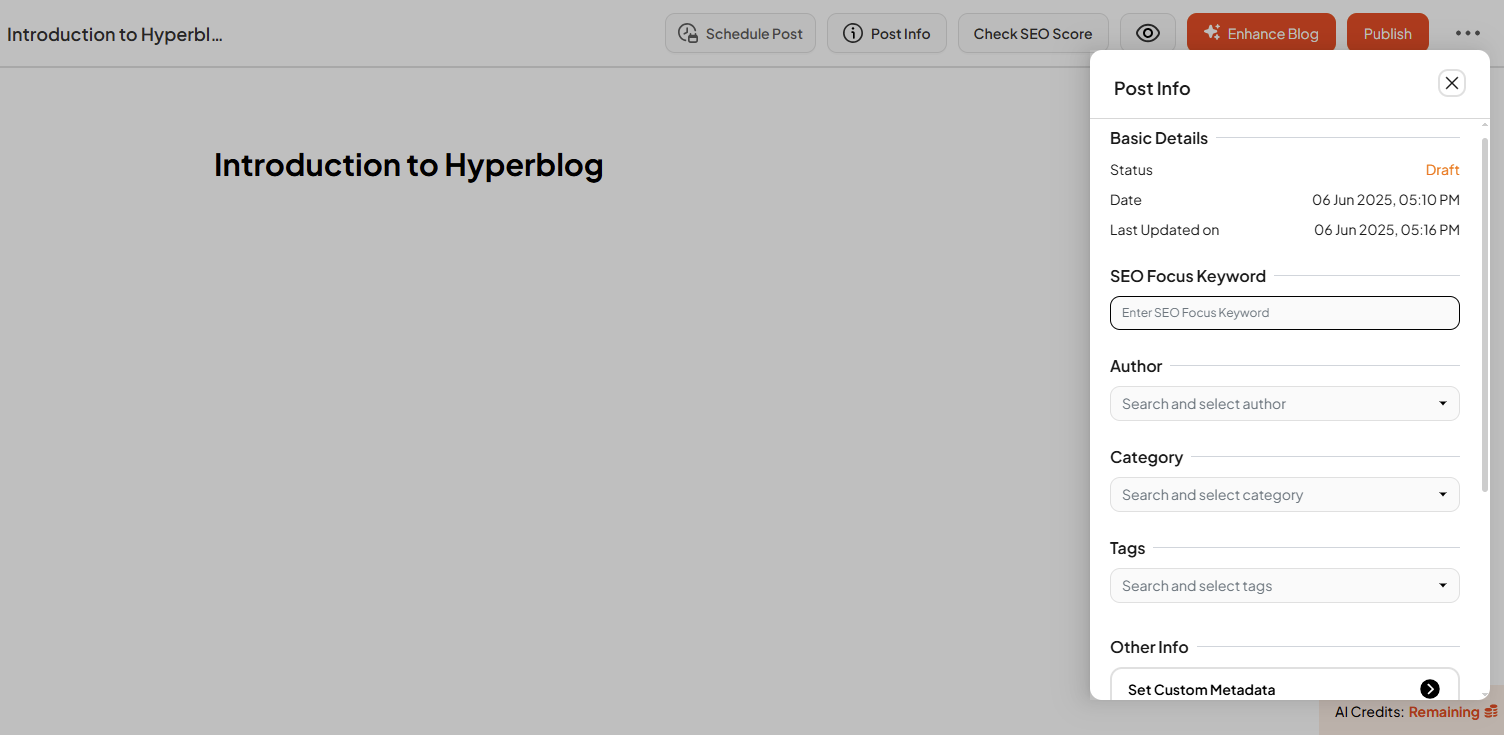
4. Fill Post Info
Use the Post Info panel to structure your blog with metadata and SEO essentials:- Status (Draft / Published)
- Date & Last Updated Time
- SEO Focus Keyword
- Author, Category, Tags
- Slug URL
- Custom Metadata: Meta Title, Meta Description, Canonical URL
- Schema Markup
- Featured Image
- Custom JavaScript
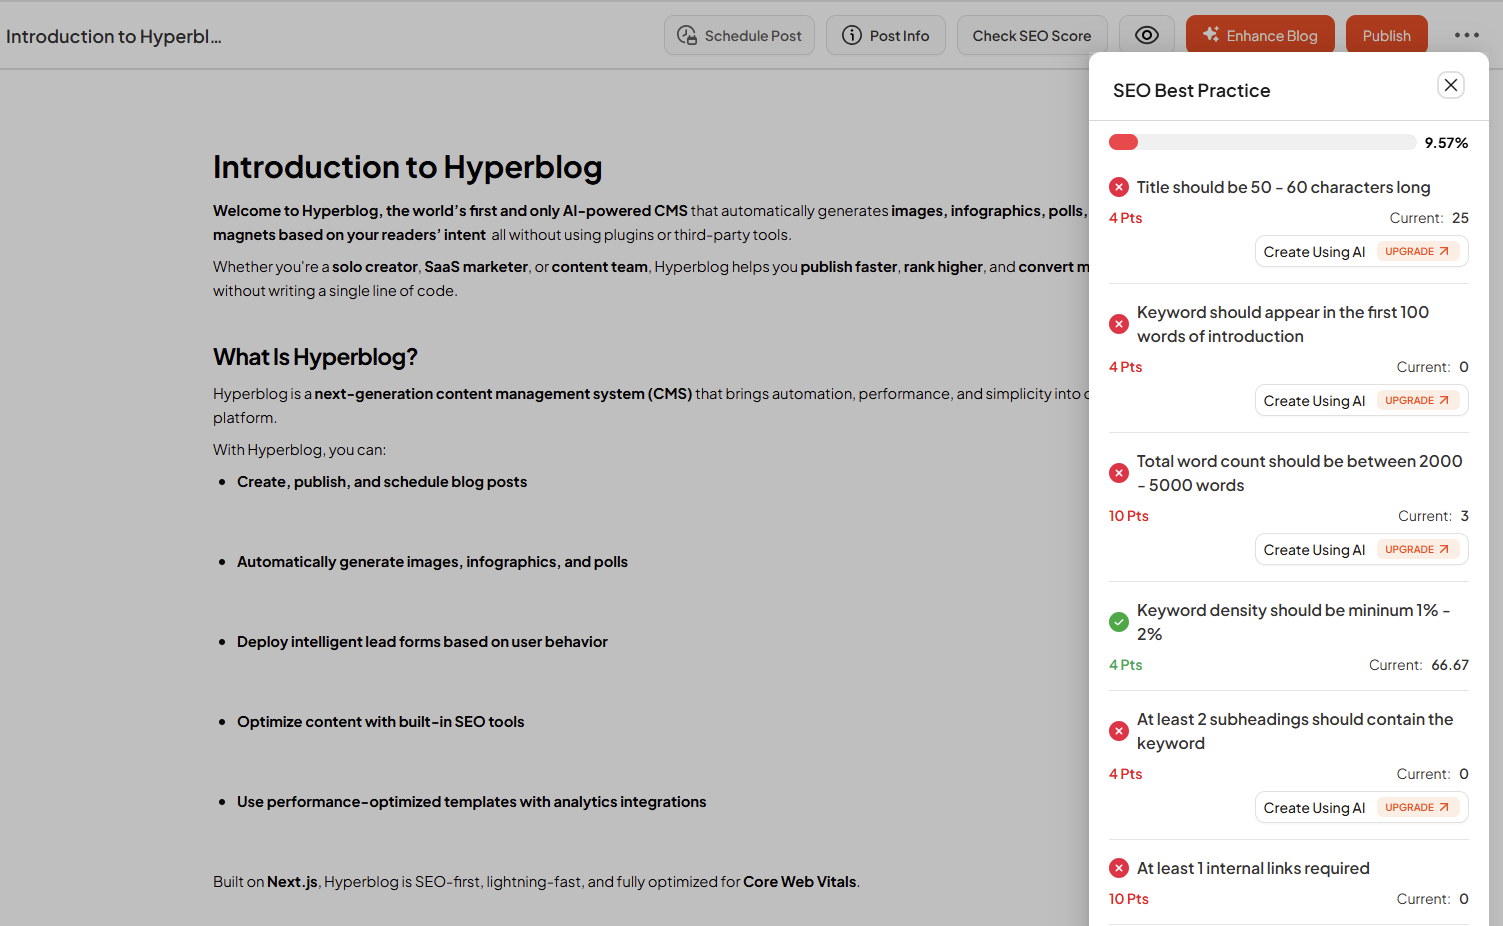
5. Hyperblog’s Advanced SEO Checker
Hyperblog comes with a built-in Advanced SEO Checker no plugins or integrations needed. Click the SEO Checker button to analyze your blog post in real time. It will scan your content + metatags and give you a detailed SEO score based on:- Keyword placement (in title, first 100 words, subheadings)
- Word count and keyword density
- Internal and external linking
- Meta title and description length
- Use of featured images, alt tags, infographics, polls, banners, FAQ, lead magnets, etc.
- Readability (headings, bullet points, bold text)
6. Preview Your Post
Click the eye icon to preview your blog posts before publishing.
7. Use Enhanced Blog (Hyperblog’s Smart AI)
Click the Enhanced Blog button to enable Hyperblog’s AI-powered enhancements.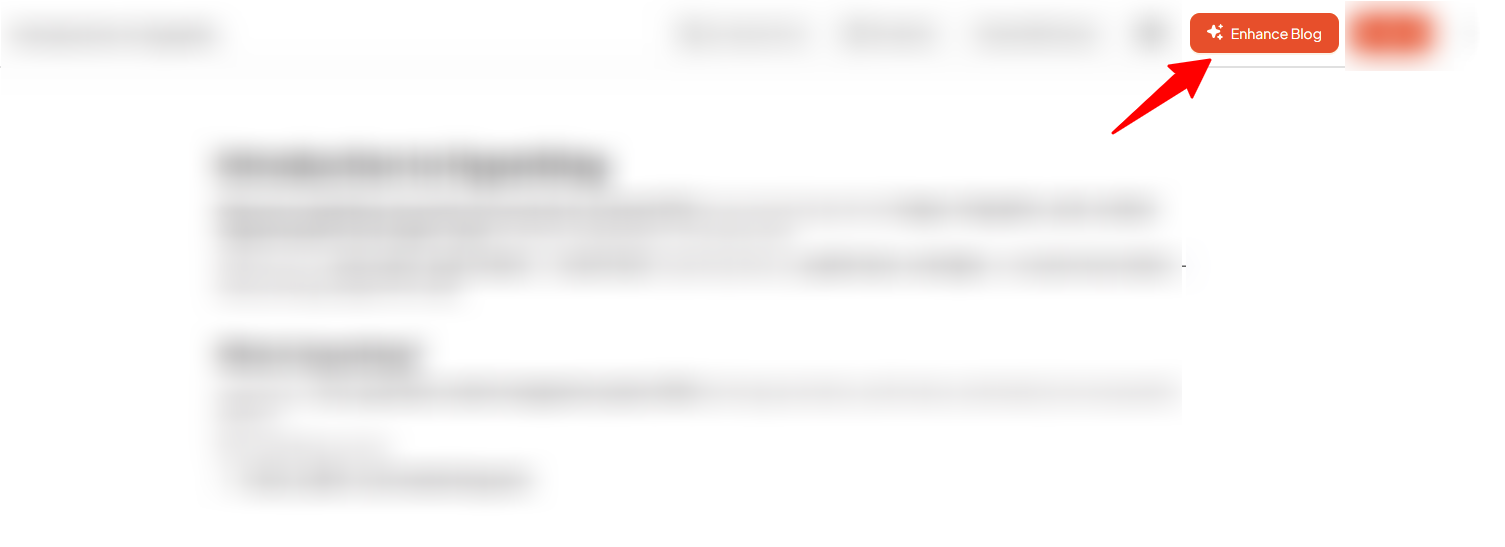

- Relevant images
- Informative infographics
- Engaging polls
- Smart lead magnets based on user behavior
- Auto-Generate Images →
- Creating Infographics Automatically →
- Adding & Customizing Interactive Polls →
- Intent-Based Lead Capture Setup →
8. Finalize & Publish
Click the Publish button at the top to instantly go live. Click the three-dot menu in the top bar for more actions:- Publish – Publish the blog post directly.
- Lead Magnet – Quickly create or manage your lead magnet. Learn how →
- Move to Trash – Delete the post if you no longer need it.